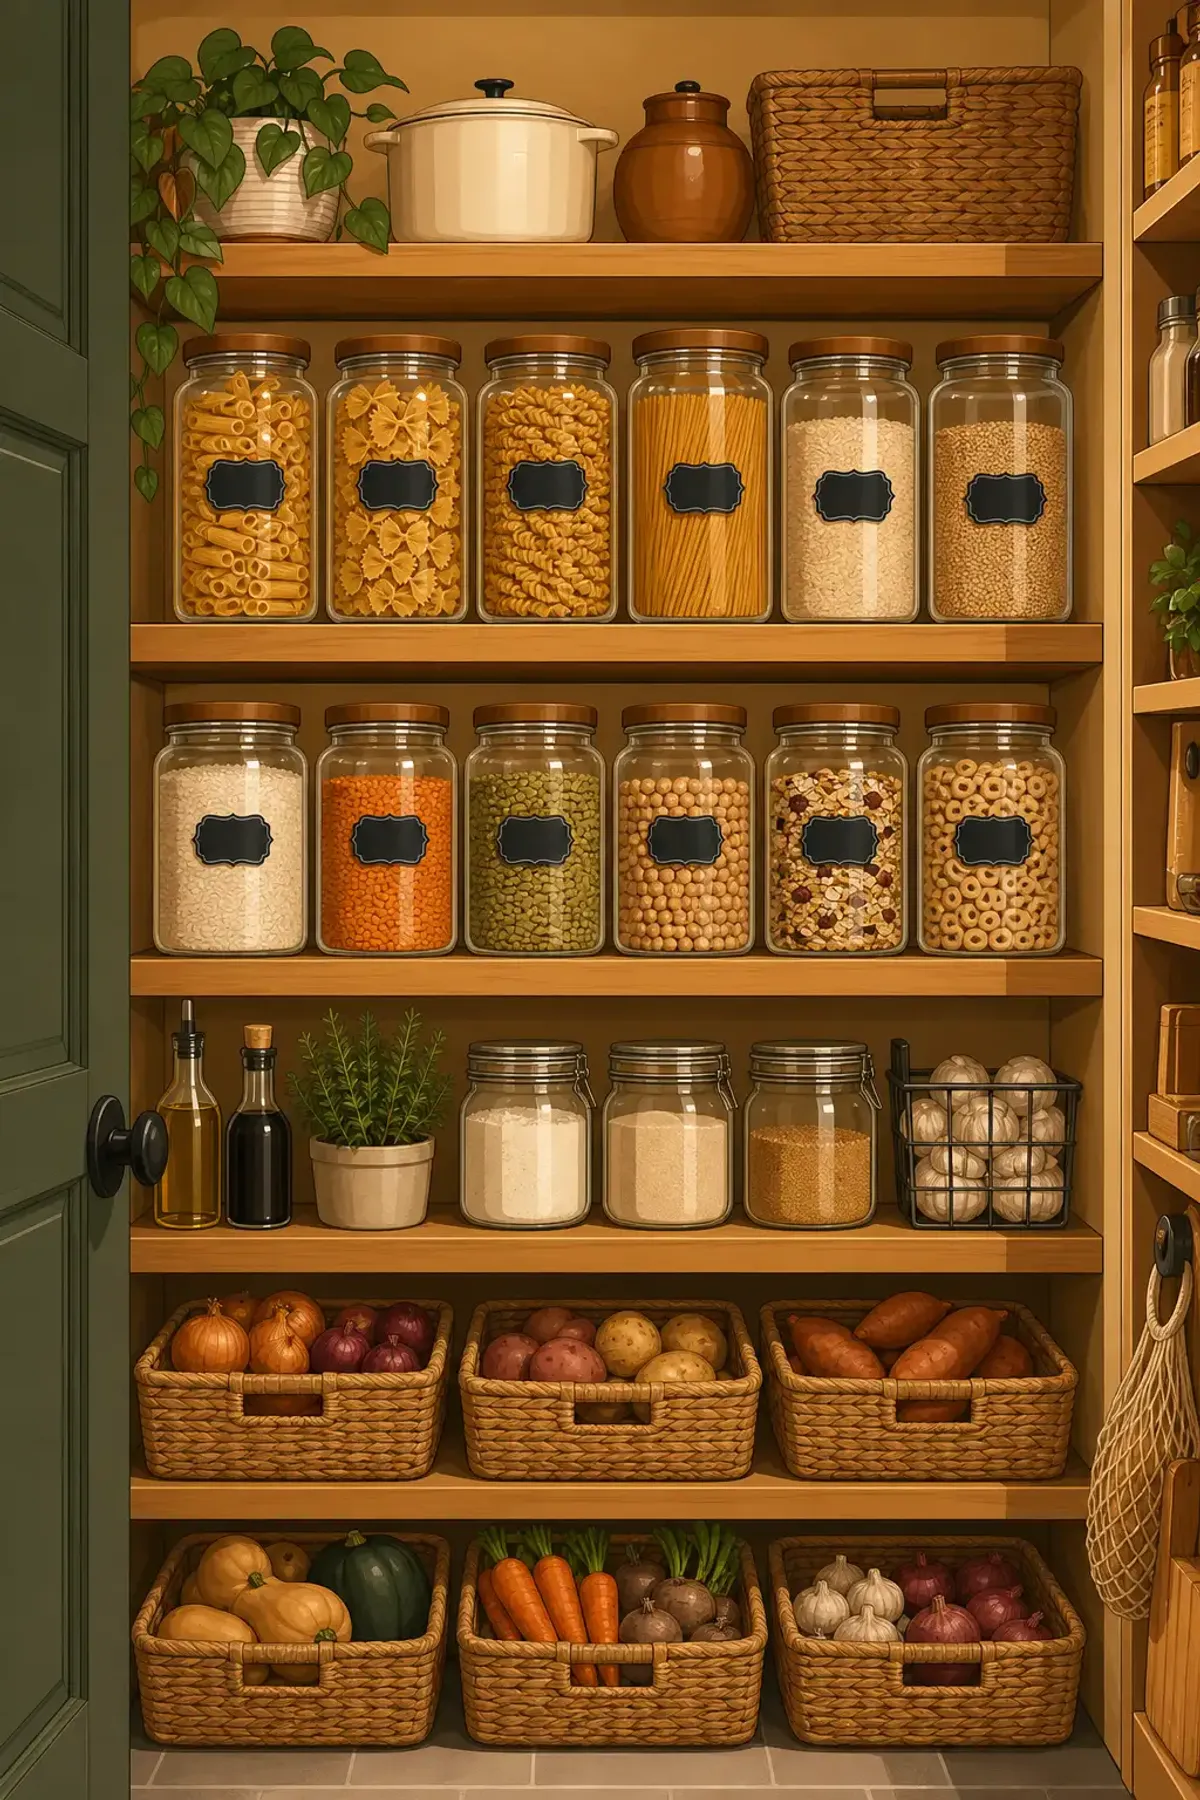
A disorganized pantry costs money in two ways: you buy duplicates of items you already have, and you throw away food that expired because you couldn’t see it. The USDA estimates that American households waste 30-40% of the food supply, and pantry disorganization is a significant contributor. Here’s how to fix it.
Step 1: Pull everything out
Yes, everything. Cans, boxes, bags, jars, spices, snacks. Check expiration dates as you go. Group items by category on the counter: canned goods, grains and pasta, baking supplies, snacks, oils and vinegars, spices, breakfast items, beverages. You’ll almost certainly find expired items and duplicates you didn’t know about. This step alone usually reduces pantry volume by 20-30%.
Step 2: Decant where it makes sense
Decanting — transferring food from original packaging into clear containers — isn’t just Instagram aesthetics. It lets you see exactly how much you have, keeps pests out, and stacks more efficiently. Decant flour, sugar, rice, pasta, cereal, nuts, and snacks into square or rectangular containers (they use space more efficiently than round ones). Leave items in original packaging if they’re single-meal quantities or if the packaging is already efficient (cans, jars with clear labels).
Step 3: Zone by meal and function
Group items by how you use them, not by food group. A “breakfast zone” with cereal, oatmeal, pancake mix, syrup, and coffee. A “baking zone” with flour, sugar, baking powder, vanilla, chocolate chips. A “dinner zone” with pasta, canned tomatoes, broths, rice. A “snacks zone” at kid-accessible height with granola bars, crackers, dried fruit. This zoning means you go to one shelf to grab everything for a meal instead of searching the whole pantry.
Step 4: Use risers and lazy Susans
Deep shelves hide items in the back. Shelf risers (tiered shelves) let you see cans in back rows. Lazy Susans in corners make everything accessible with a spin. These two tools solve 90% of “I can’t see what I have” problems.
Step 5: Label zones, not items
Label each shelf or zone: “Breakfast,” “Baking,” “Pasta & Grains,” “Canned Goods.” This tells everyone in the household where things go without requiring item-level labeling. The “pasta goes on the pasta shelf” rule is easy to follow. The “penne goes exactly here between farfalle and rigatoni” rule is not.
Step 6: The FIFO principle
First In, First Out: when you buy new items, put them behind the existing ones. Canned goods and dry goods last a long time past their “best by” dates, but rotating stock prevents anything from sitting forgotten for years.
Step 7: Maintain with a weekly scan
Spend two minutes before grocery shopping scanning the pantry. What’s running low? What’s been sitting untouched? What needs to be used soon? This prevents overbuying and ensures nothing expires unnoticed.
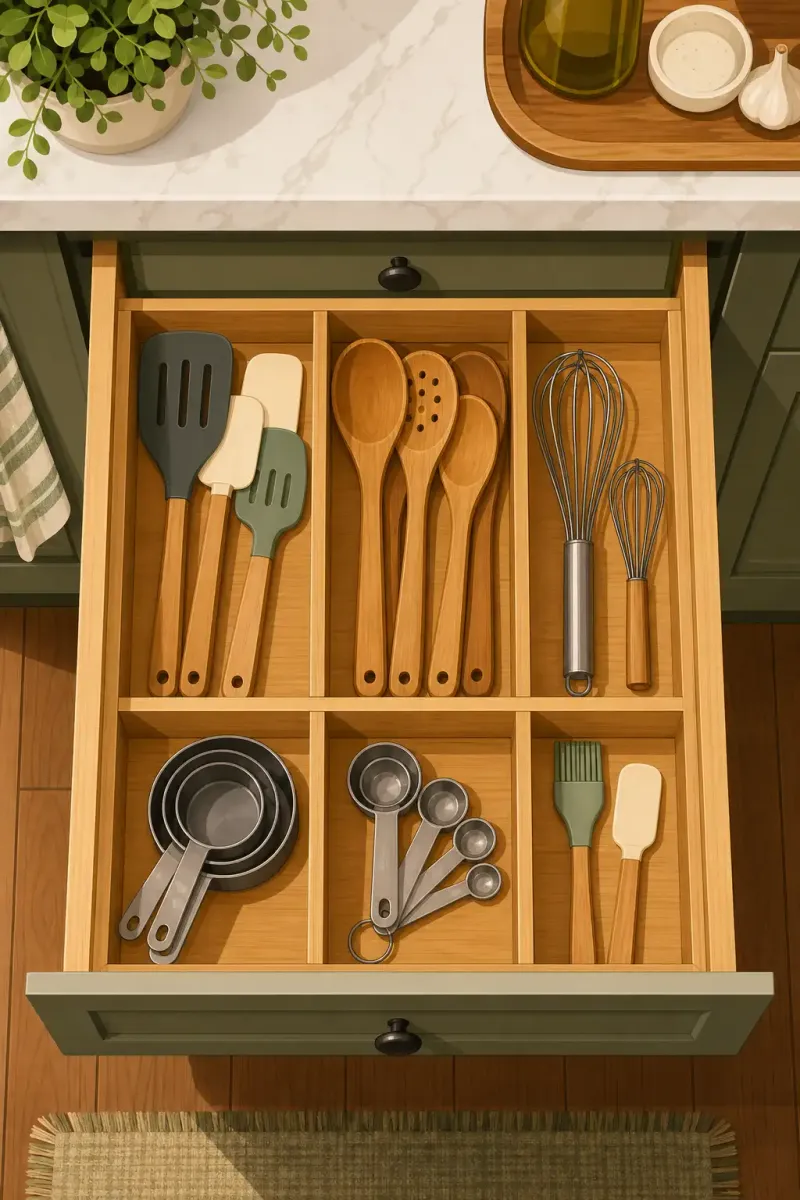
For more kitchen organization, see our kitchen drawer guide and decluttering tips.

Discussion
Comments
Share a helpful tip, question, or takeaway from Pantry Organization: A Step-by-Step System That Saves Money and Reduces Food Waste.
0 Comments
Loading comments…